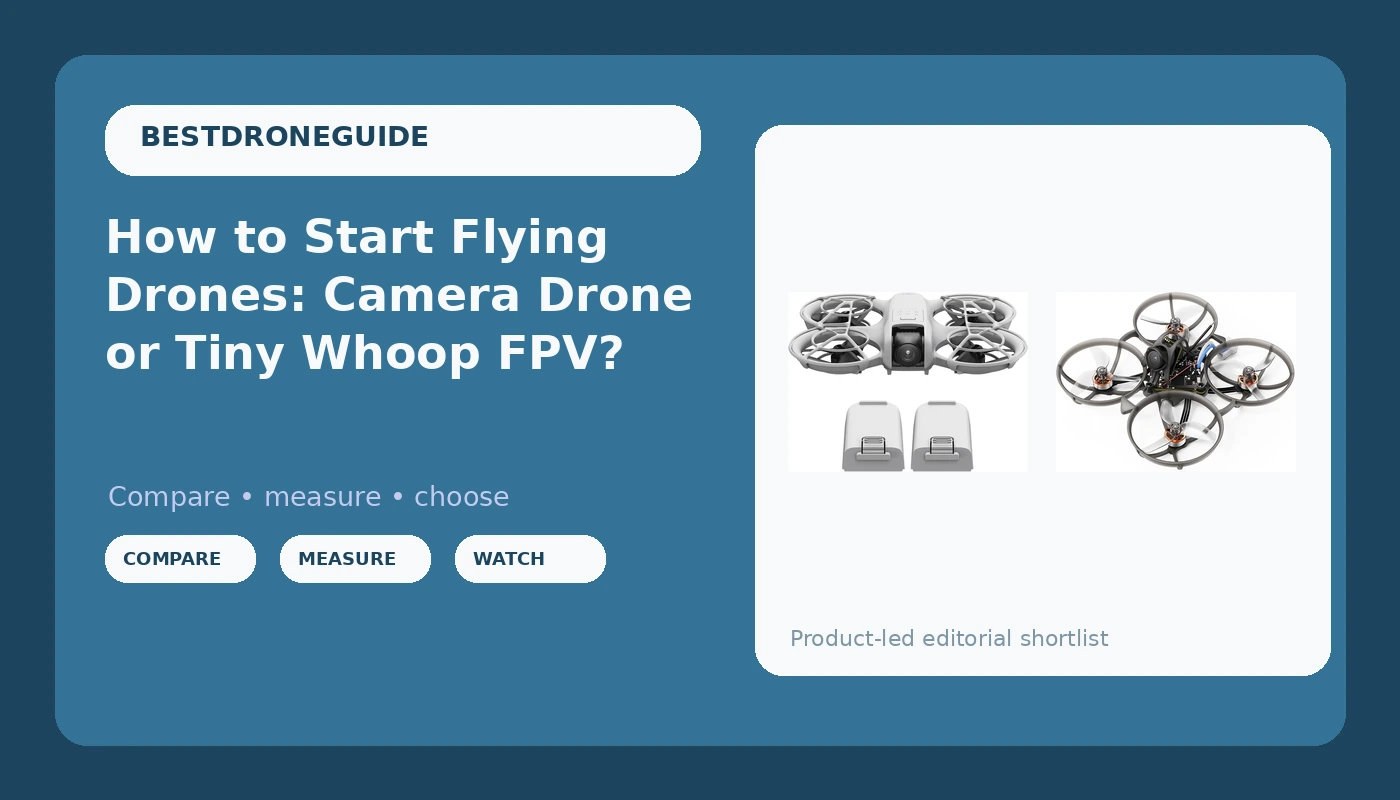
Most people buy a drone, fly it twice over a cul-de-sac, and park it in a closet. That failure has almost nothing to do with the drone. Learning how to start flying drones is a sequence problem: pick the airframe that matches the way you actually want to fly, learn the rules that keep you legal, then build stick time somewhere a crash costs you a propeller instead of a gimbal.
I fly commercially out of Phoenix, Arizona, four to five days a week, shooting real estate, weddings, and solar farm inspections. I started on a Phantom 2 in 2015 and I have owned or flown more than 20 airframes since, from $300 toys to a $15,000 enterprise rig. Every summer here I watch the same pattern: somebody buys the wrong first drone, gets frustrated in a week, and decides the hobby is not for them.
The two beginner paths look similar from the outside and are nothing alike in the air. One is a camera drone that hovers itself while you worry about framing. The other is a tiny whoop that does exactly what your thumbs tell it, including the wrong thing.
Why you should trust me
I keep a logbook. Not a decorative one, an actual spreadsheet with flight times, battery cycle counts, gimbal behavior, and failures. That logbook is the reason I tell people to cut every advertised flight time by 30 to 40 percent, because in 110 degree heat with a headwind, that is exactly what happens to mine.
I also fly for paying clients, which changes how you think about gear. If an app crashes mid-shoot, I lose a client. If a battery swells at 80 percent health, I lose a shoot day. The advice below comes from that pressure, not from a spec sheet.
One boundary up front: I do not do FPV racing builds. Different category, different skillset, different guide. What I do know is how to get a beginner from unboxing to a controlled hover without burning money.
The two paths, and how to pick yours
Path one is the camera drone. You want smooth video, you want GPS to hold the drone in place while you think, and you want return-to-home when you lose your nerve. This is the right path if your goal is footage of your house, your hikes, your kid's soccer game, or a client's listing.
Path two is the tiny whoop. You want the feeling of flying, and you accept that the first week is going to involve bouncing off walls. A whoop is small, it is light, and it survives impacts that would end a camera drone's day. It also has no GPS and no self-leveling magic unless you configure it, which means you are actually flying.
The honest answer for most beginners is to start with the camera drone, because it gets you in the air in an afternoon and produces something you can show people. The whoop is the better long term teacher, but it demands simulator time first.
What you need before the first flight
Four things, and none of them is expensive.
A legal check. In the United States, recreational flying outdoors requires a TRUST certificate, which is a free online test. Anything at or above 250 grams also needs FAA registration. Do this before you charge a battery.
An airspace check. Use a free app to confirm you are not in controlled airspace or a temporary flight restriction. Airports, stadiums on game day, and wildfire zones are the usual traps.
A field. An empty park or a large vacant lot with no people, no power lines, and no dogs. Not your backyard with a fence and a tree canopy.
A battery plan. Buy at least two batteries if the kit does not include spares, because one battery means 20 minutes of flying and a two hour wait to charge.
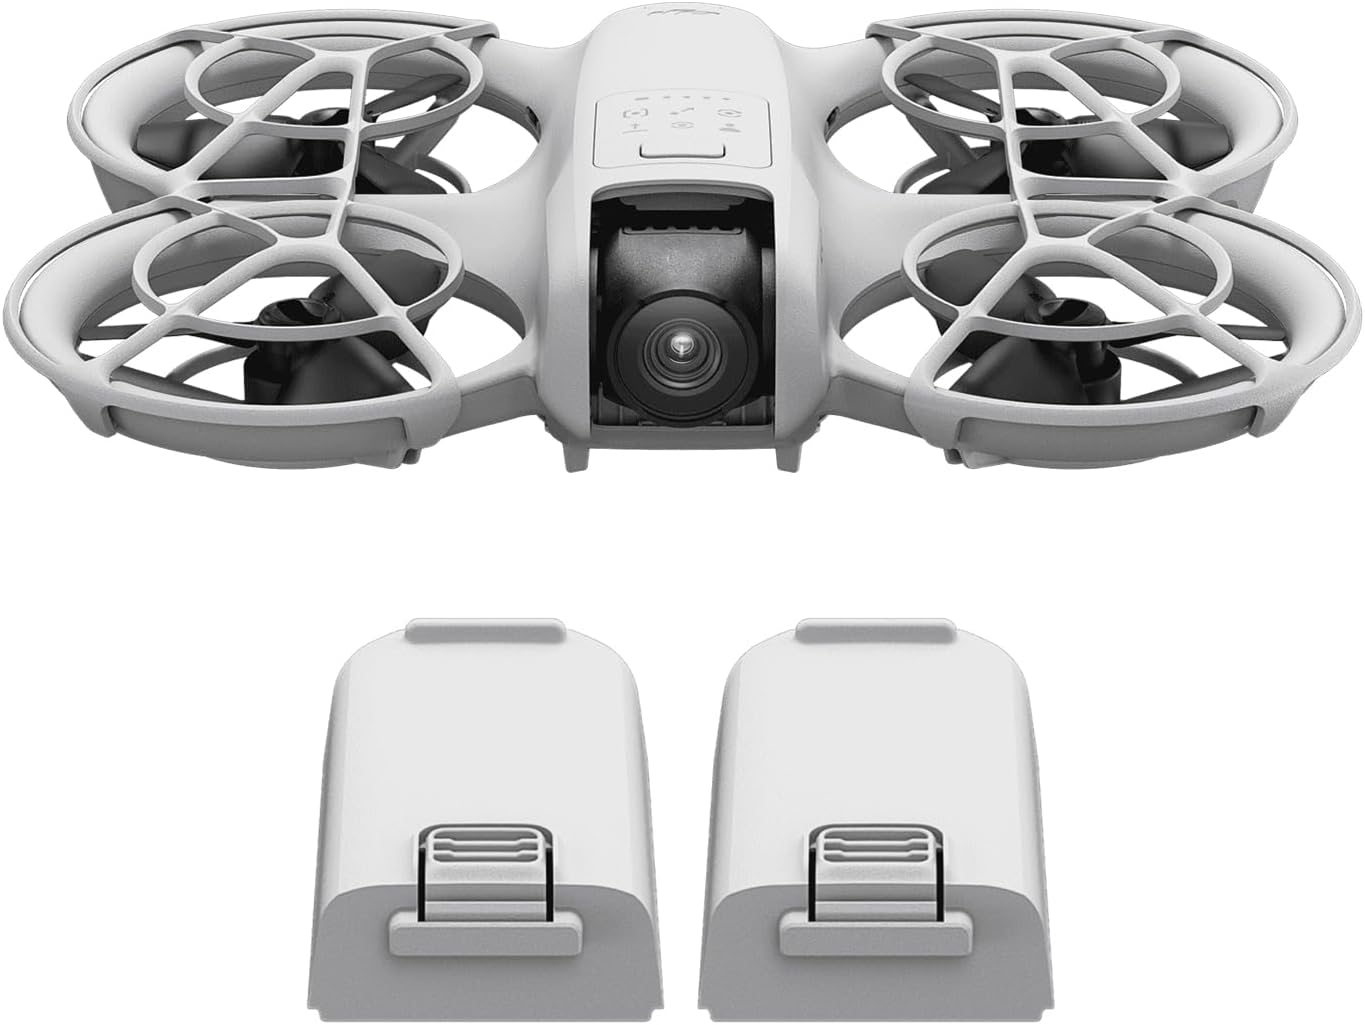
Best first camera drone: DJI Neo Drone with Camera 4K, Intelligent Flight Battery & Carrying Bag Bundle
 Visit on Amazon →
This is the bundle I point beginners at when they want a camera drone that will not punish them. The listing describes a foldable 4K camera drone with GPS, aimed at adults, beginners, and professionals, and this version ships with an intelligent flight battery and a carrying bag. That bag matters more than it sounds. A drone that lives in a bag with its props protected is a drone that still works in month three.
The GPS positioning is the part that makes this a sane first aircraft. You can let go of the sticks, and the drone holds its position while you figure out what you want to shoot. That single feature is the difference between learning to frame a shot and learning to fight a drift.
The 4K camera is the other half of the argument. My rule is that the camera is 50 percent of the drone, and a great airframe with a soft camera is an expensive paperweight. For social video, listings, and family footage, a 4K sensor in this class is plenty.
Flaws but not dealbreakers: This is a sub-250 gram class aircraft in spirit, but check the listed weight before you assume you are exempt from registration. Foldable arms also mean more moving parts, so do not treat it like a toy you can toss in a trunk.
Anyone who wants to shoot video on the first weekend, without a simulator, should start here.
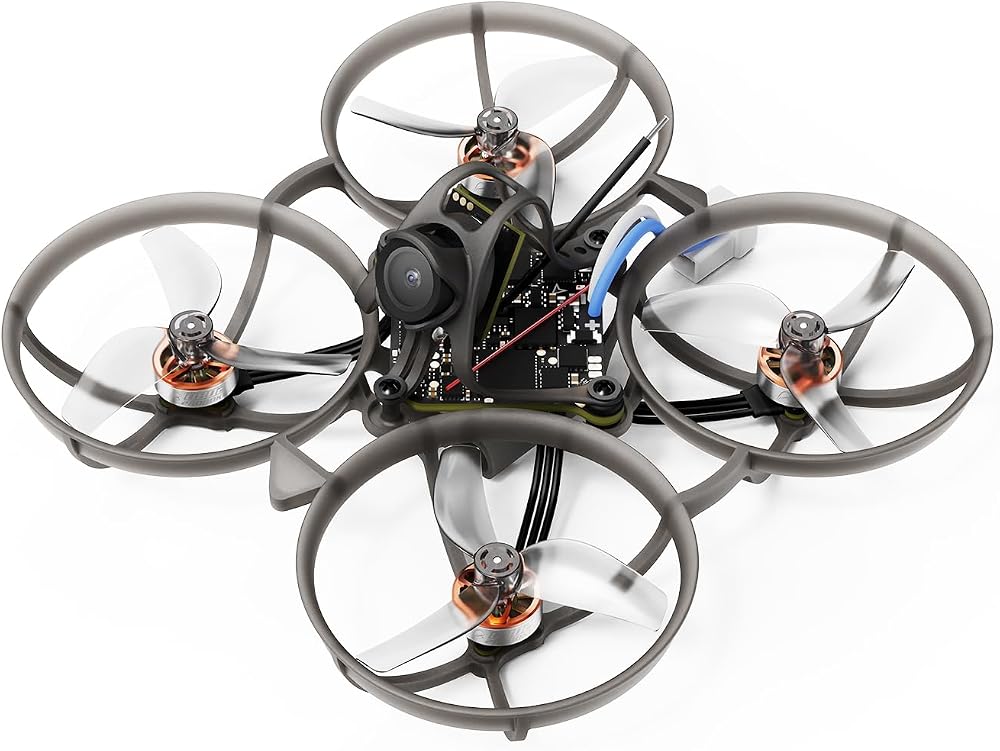
Best first FPV whoop: BETAFPV Air75 II Brushless Whoop Quadcopter
 Visit on Amazon →
This is the other path. The listing describes an ultra-lightweight 1S brushless whoop built around a Matrix G4 5IN1 II flight controller, 0802 28000KV brushless motors, 1614-3B props, and a C03 camera with the Air II canopy. In plain terms, that is a small ducted quad with real brushless motors rather than the brushed motors that die on cheap toys after two weeks.
Ducted props are why a whoop is the right trainer. The ducts take the impact when you clip a doorframe, and the whole aircraft weighs little enough that a wall strike is usually a bounce rather than a rebuild. Brushless motors add the durability that brushed whoops never had.
What it does not have is GPS. There is no return to home button, no position hold, no altitude lock. That is the point, but it means the first session should be in a simulator with the same stick layout, or in a large empty room at low throttle. The 1S battery also means short flights, so buy spares and treat them gently.
Flaws but not dealbreakers: A whoop in this size class is a line of sight and short range machine. It is not a long range cruiser and it is not a race build. If you want to race, that is a different shopping list.
Anyone who wants to learn real stick control, and who is willing to crash for a week to get it, should buy the whoop.
The first-flight workflow, step by step
Step one: charge everything, then read the manual. Not skim it. Read the section on arming, disarming, and what the LEDs mean. Half the panic posts I see online are people who do not know what a blinking light is telling them.
Step two: update firmware on the ground. Do this at home, on wifi, before you drive anywhere. Firmware updates take 10 to 20 minutes and they always fail when you are standing in a field with cold hands. This is my biggest app pet peeve: account creation just to update firmware. Do it once, at your desk, and forget it.
Step three: calibrate. For a GPS camera drone, run the compass and IMU calibration the app asks for, and do it away from metal, cars, and concrete with rebar in it. A bad compass calibration is the most common cause of a drone that drifts or toilet-bowls on takeoff.
Step four: pick your mode. Fly in the slowest, most assisted mode the drone offers. Beginners who start in sport mode are the reason repair shops exist.
Step five: take off, climb, and hover. Climb to about 10 feet, stop, and just hover for a full minute. Do nothing else. Watch how the drone holds position, listen to the motors, and get used to the sound. This is the calm minute that prevents the panicked minute later.
Step six: learn the two controls that matter. Throttle controls height. Yaw controls which way the nose points. Beginners instinctively use the right stick to turn, which is how they fly into things. Practice yaw turns with the left stick until it is boring.
Step seven: do the box drill. Fly a slow square, 20 feet per side, keeping the nose pointed the same direction the whole time. Then fly it again with the nose pointed along the direction of travel. Those two drills teach more than an hour of random flying.
Step eight: land before the battery complains. Land at 25 to 30 percent, not at the low battery warning. Deep discharges are what kill packs early, and you will need those packs in six months.
For the whoop, the same sequence applies with one change: do steps five through seven in a simulator first. Two hours in a sim saves a week of repairs and a lot of frustration.
Heat, wind, and the flight time lie
Advertised flight time is a lab number measured in still air at room temperature with a fresh pack. In Phoenix in July, with surface temperatures over 110 degrees and any wind at all, I plan on 60 to 70 percent of the claimed figure. A drone advertised at 30 minutes gets me 18 to 21 minutes of usable flight before I bring it in with margin.
Heat is also the battery killer. I have lost two packs to Phoenix summers. They swelled and dropped off a cliff at around 80 percent health, which is why I store packs at half charge in a cool room and never leave them in a hot car.
Wind is the second factor. A light camera drone in a 12 mph gust will fight to hold position and drain the pack faster. If the trees are moving, fly something bigger or fly another day.
Mistakes that cost beginners money
Flying near people. This is the one that gets hobbyists in real trouble. If a stranger walks into your flight path, climb and move away, or land.
Skipping the pre-flight check. Props cracked, motors gritty, gimbal guard still on. Thirty seconds of inspection before every flight.
Buying accessories before skills. You do not need a filter set in week one. You need stick time.
Ignoring the app. A drone with a buggy app is a drone that will not fly when you need it. Check for updates at home, and learn where the return to home and emergency stop controls are before you need them.
What this all costs
The camera drone bundle and the whoop sit in different price brackets, and both are entry points rather than destinations. Check current Amazon price on each listing before you decide, because both move.
The real cost is not the airframe. It is batteries. A single battery means short sessions and long waits, and a second and third pack is the upgrade that actually changes how much you fly. Budget for spares on day one, not month six.
Cost per day is the math that makes this easy. A beginner setup that gets you out twice a month for a year works out to a few dollars per session, and the skills you build carry over to whatever you fly next.
Start with one drone, one field, and a habit of landing at 30 percent. That is the whole job. The rest is stick time.