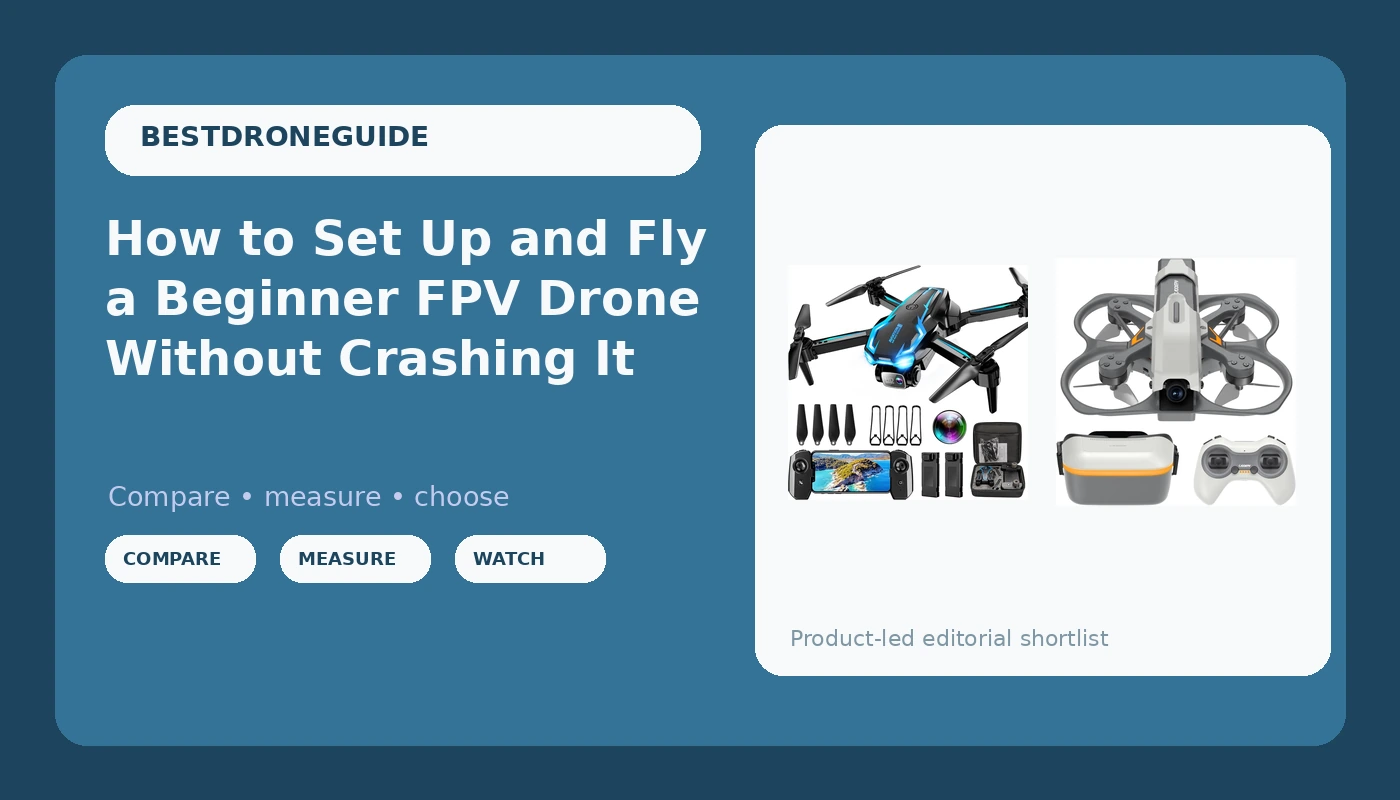
A beginner FPV drone looks like the easiest thing in the world to fly right up until the moment it isn't. I fly commercially out of Phoenix four or five days a week, and I have watched more first flights end in a fence, a palm tree, or a swimming pool than I care to count. Almost none of those crashes were the drone's fault. They were setup mistakes made in the first ten minutes by somebody who was too excited to read a manual.
The fix costs nothing but an hour of patience. What you buy matters too, and there are really only two sensible entry points: a cheap camera drone you can learn the sticks on without sweating a crash, and a proper ready-to-fly FPV kit for the day you decide you actually want goggles.
This is the whole workflow, in the order I would run it.
Why you should trust me
I started on a Phantom 2 in 2015 and I have owned or flown more than 20 drones since, from $300 toys to a $15,000 enterprise rig. My logbook is mostly real estate, weddings, and solar farm inspections, which means my drones work in 110-degree heat with no shade and no second takes.
Two things I have learned the hard way. Flight time is a lab number, and heat is what kills batteries. A drone that advertises a long flight time in a climate-controlled room will give you a fraction of it in an Arizona July with a headwind, and a battery that lives in a hot car will swell and die young. I plan every flight at 60 to 70 percent of whatever the box claims, and I have never run a pack to the warning buzzer over a client's roof.
That is the lens I use for every recommendation I make. If a claim only works in perfect conditions, it does not work.
How I picked these two, and what I checked
I am not going to pretend I have flown every budget drone on the market. I have not, and a spec sheet is not a flight test. What I can tell you is the checklist I run before I recommend anything to a friend, and both drones below pass it.
First, batteries. The kit has to include at least two packs, because one battery means you fly for a few minutes and go home. Second, the mode structure has to be beginner-shaped: a self-leveling mode, a low-speed setting, and something that gets you out of trouble when you lose orientation. Third, the parts have to be replaceable, because props and arms break first and a drone with no spares is a paperweight after the first bad landing. Fourth, I look at whether you can fly it without creating an account and holding an internet connection, because firmware apps are the least reliable part of this hobby.
What I did not do is quote a flight time off a box. Nobody should.
Gear you need before your first flight
Two drones, two very different jobs. The first teaches you the sticks for about the cost of a decent dinner. The second is the real thing, and it comes with everything in one box.
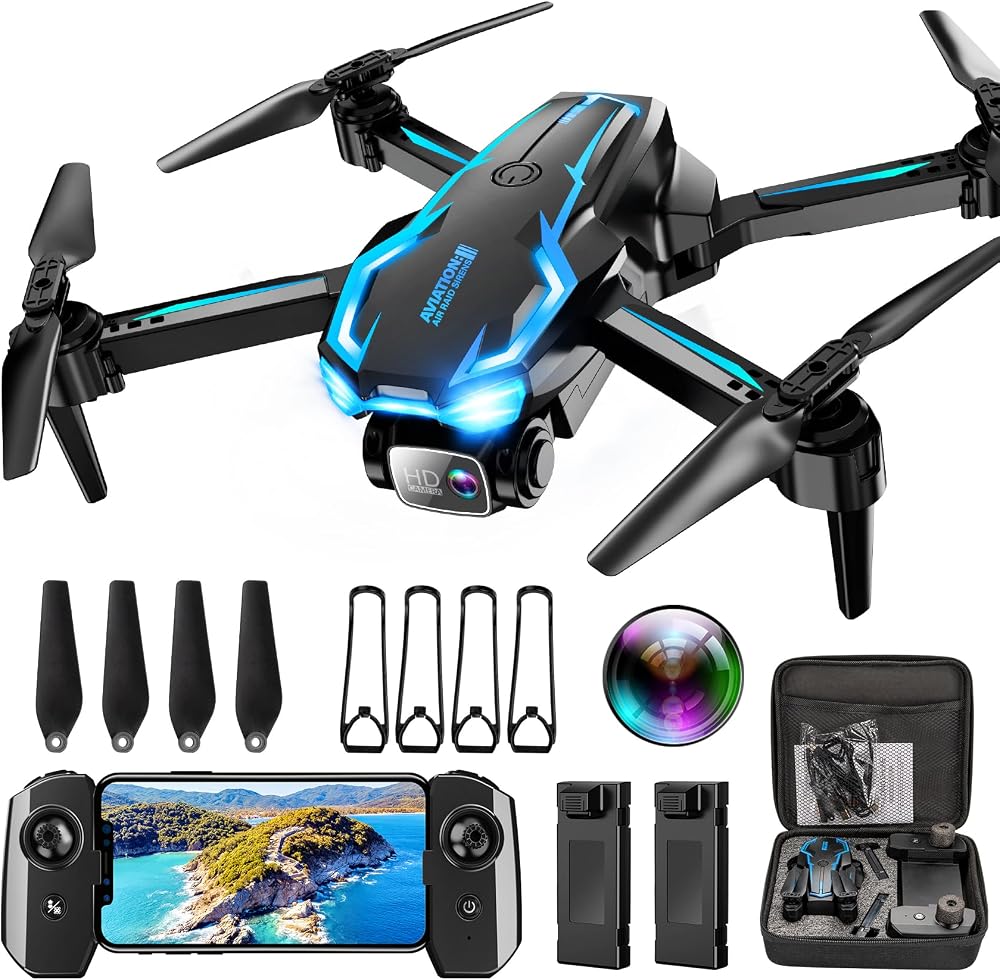
Budget pick: 2K HD FPV Drone with Camera for Adults - Altitude Hold, One-Key Takeoff/Landing, 3 Speed Modes, Headless Mode, 2 Batteries, Foldable & Portable, Best Gifts for Beginners, Teen Boys & Girls
 Visit on Amazon →
Check current Amazon price. This is the drone I hand to somebody who has never touched a transmitter, and the feature list is why. Altitude hold means the drone holds its height on its own, so you are only managing direction while you build muscle memory instead of fighting the throttle stick. One-key takeoff and landing takes the two most panicked moments of a first flight and turns them into a button. Three speed modes give you a slow setting for the backyard and something faster later. Two batteries means you actually get a session instead of a single hop.
Headless mode is the interesting one. It makes the controls relative to you rather than to the nose of the drone, which rescues you when the drone is pointed at your face and left is suddenly right. Treat it as training wheels. Use it for the first three flights, then turn it off and learn to fly properly, because a pilot who only flies headless never really learns orientation.
Two batteries in the box is the detail that matters most. A single-pack kit is a ten-minute hobby.
Flaws but not dealbreakers: There is no GPS return-to-home in the feature list, so wind is the enemy. Fly in the calm first hour after sunrise, keep it inside line of sight, and treat the camera as a bonus rather than the point. A 2K sensor this small needs good light, so shoot in the morning, not at dusk.
Anyone who wants to learn the sticks without risking much money, and any parent buying a first drone for a teenager, should start here.
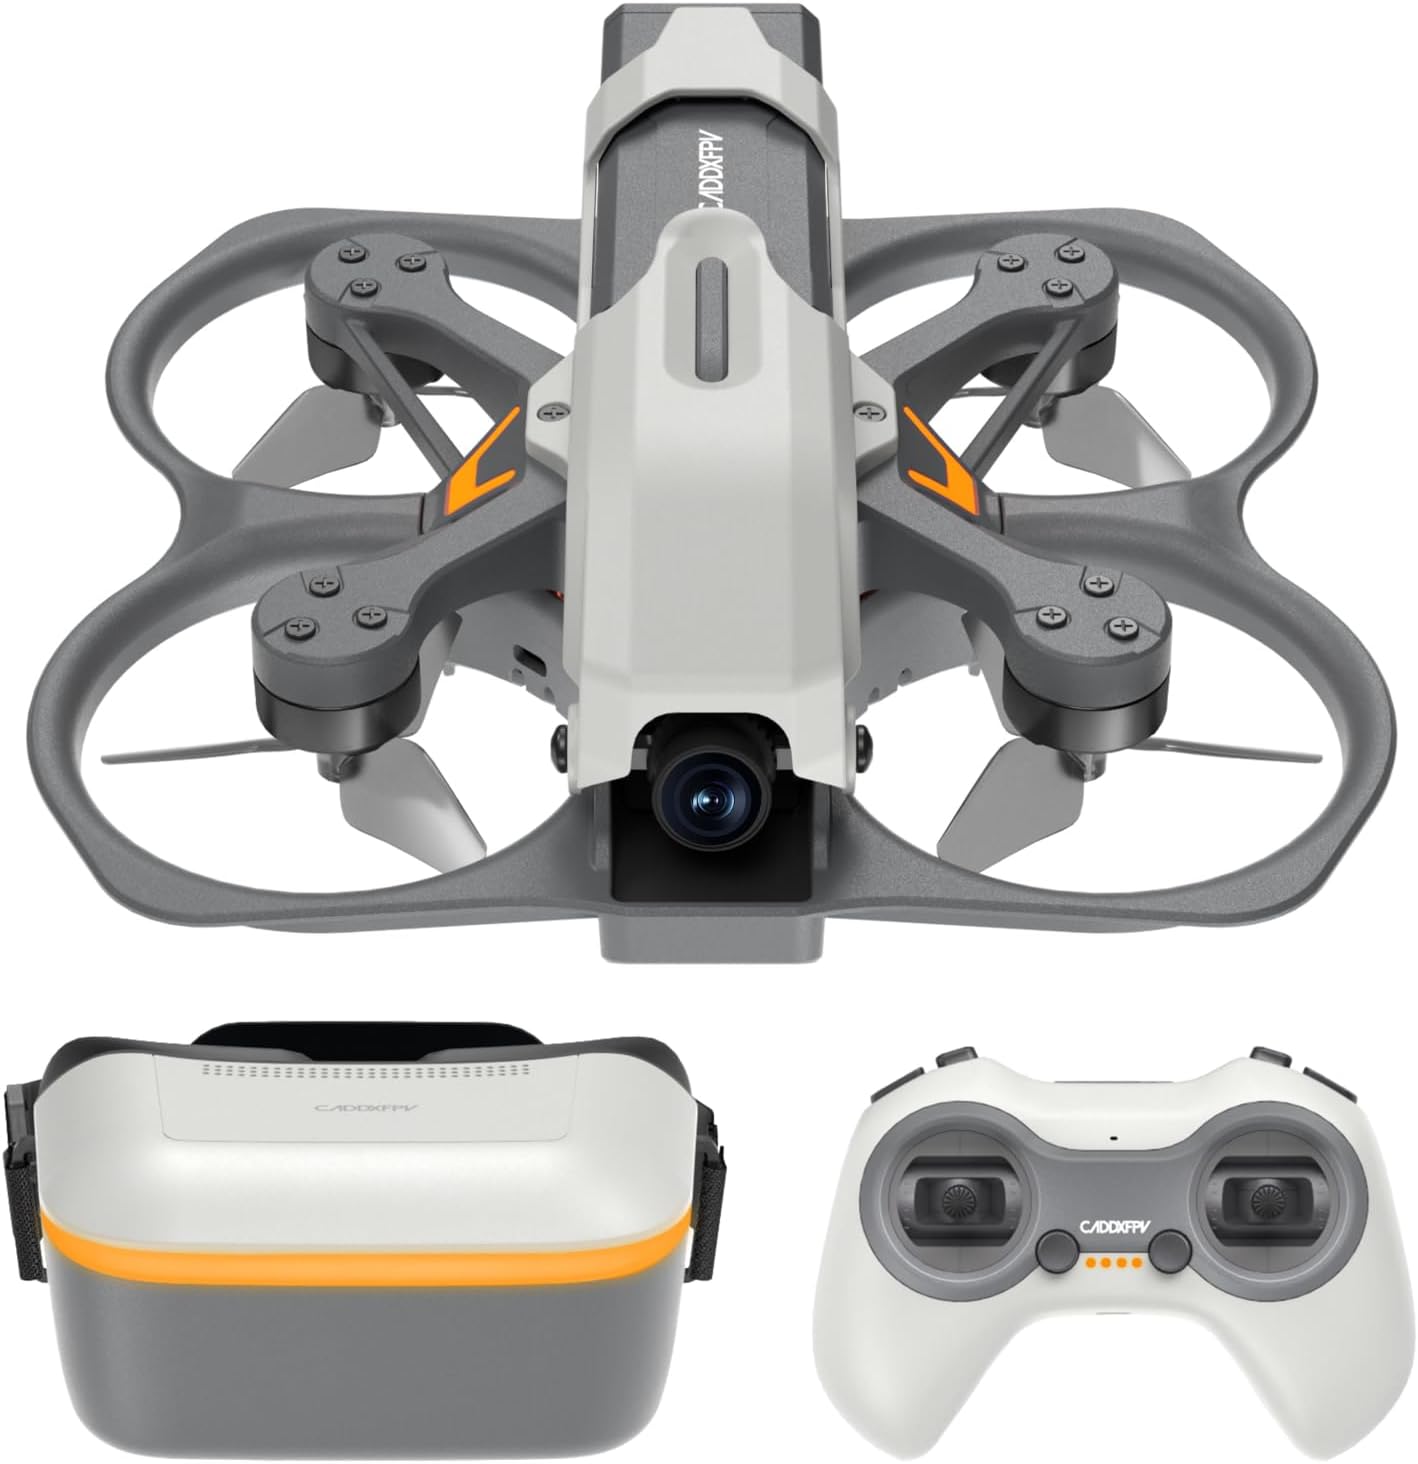
Upgrade pick: CADDXFPV Protos FPV Drone RTF Kit, Walksnail Ascent VTX with FPV Goggles
 Visit on Amazon →
Check current Amazon price. RTF stands for ready to fly, and this kit earns the name: the quad, the radio, and the FPV goggles all arrive together, with the Walksnail Ascent video transmitter handling the digital link between the camera and the goggles. If you have flown a camera drone and you want to know what first-person flight actually feels like, this is the honest next step, and buying the pieces separately costs more and wastes a weekend on compatibility research.
The goggles change everything. Flying first person means you see what the drone sees, and depth perception goes out the window on day one. That is not a flaw in the kit, it is a fact of the hobby, and it is why the setup steps below put so much weight on your first battery.
Flaws but not dealbreakers: This is not a toy-class drone and it does not fly like one. Crashes cost real money to repair, and the batteries are the recurring expense you should budget for on day one. In the United States you also need a visual observer whenever you fly with goggles, so this is a two-person hobby on most days. Learn the basics on a simulator before you strap in.
Anyone who already knows how to hover and land a camera drone, and who wants the real FPV experience without building anything, should look here.
The actual setup and first-flight workflow
Now the part you came for. This works whether you bought the budget kit or the RTF kit, with small differences noted.
Step one: Pick the site before you charge anything. An open field, no people, no dogs, no power lines, no water, and at least a football field of clear space in every direction. I use a dirt lot outside town at sunrise, when the wind is under eight miles per hour. If the trees are moving, wait for another day. Wind is what turns a controlled hover into a recovery operation.
Step two: Read the manual once, all the way through. You are looking for three specific things: the calibration procedure, what the low-battery warning looks and sounds like, and how to disarm the motors. That last one is the emergency brake, and you want to know it before you need it.
Step three: Charge everything, but not in a hot car. Lithium packs want room temperature. Charge the night before, and inspect each pack for puffing before it goes in. A swollen pack goes to a battery recycler, not into the air. This is not optional advice. I have lost two packs to Phoenix summers and both of them died at the same moment: mid-flight, at altitude.
Step four: Handle the legal basics. In the United States, recreational flyers need to pass the TRUST test, fly below 400 feet, stay in Class G airspace or get LAANC authorization near an airport, and follow Remote ID rules. Do this before your first flight, not after, because the app prompts are easier to understand when you already know what they mean.
Step five: Calibrate on a genuinely level surface. Follow the manual's level calibration exactly, on a table or a flat slab, not on the tailgate of a truck. On the RTF kit, bind the radio and the goggles first, then confirm the video feed is clean and stable before you ever arm the motors. A grainy feed is a bad antenna placement or a channel conflict, and both are easier to fix on the bench than in the air.
Step six: Set your modes and rates for a beginner. On the budget drone, drop into the lowest speed mode and keep altitude hold on. On the RTF kit, fly in the self-leveling angle mode with conservative rates. Nothing about a first flight should feel fast.
Step seven: The first battery is a hover, not a flight. Take off to eye level, hold it there, and spend the whole pack doing nothing but throttle, yaw left, yaw right, and small forward and back inputs. Bring it down, swap packs, and repeat. If you can hover a full battery in one spot without drifting across the field, you are ahead of most people who buy their first drone.
Step eight: Land before the battery tells you to. Set a timer at 60 to 70 percent of the claimed flight time and land when it goes off. The low-battery warning is a safety net, not a schedule. Landing early keeps your packs healthy and your drone out of the one tree in the field.
Step nine: Only then add goggles and speed. When you move to the RTF kit, fly with a visual observer, and spend an hour in a simulator before you fly acro or manual mode for real. Acro is where the drone stops leveling itself, and it is where most of the expensive crashes happen.
One more habit worth building early: after every session, check the props for nicks and cracks and spin each motor by hand. A cracked prop is a vibration you can feel in the footage and a failure you cannot fix mid-air.
The competition and why it lost
The drones that are not in this guide are not here for a reason, and it is not because they are bad.
Cinewhoops and sub-250-gram GPS camera drones are excellent machines, but they belong to a different question. That question is "what do I buy for smooth video," and it has its own answer. Racing quads are out of my lane entirely. I do not build or race them, the skillset is different, and I am not going to pretend otherwise. Enterprise rigs with RTK positioning are a separate budget and a separate conversation about inspections and mapping.
The two drones above cover the actual beginner path: learn the sticks cheaply, then move to first-person flight. Everything else is a decision about what you want to shoot, and that is a buying guide, not a setup guide.
What this all costs
Two tiers, one lesson. The budget kit is the least expensive sensible way into this hobby, and the RTF kit sits a real multiple above it because you are buying goggles and a digital video link in the same box. Check current Amazon price on both listings before you decide, because both move around during sale events.
The recurring costs are identical either way: batteries, props, and a memory card. The budget kit ships with two packs, which is the minimum for a real session. If you go the RTF route, budget for spare packs on day one, because a single battery is a ten-minute hobby. Props are consumables and you will break some, so order spares with the drone rather than after the first crash.
Over a year of weekend flying, the drone turns out to be the cheap part. The accessories are where the money goes. That has been true of every drone I have ever owned, including the expensive ones.
The honest summary
Buy the cheap kit, learn to hover and land, and do not touch headless mode after your third flight. When you can fly a full battery in one spot and land it where you intended, buy the RTF kit, learn on a simulator, and bring a friend to watch the sky while you wear goggles. Charge at room temperature, plan for 60 to 70 percent of the claimed flight time, and land early.
That is the whole job. The drone was built to do this. Your only task is to not rush the first hour.