Most people who want to learn to fly a drone buy the drone first and learn second. That order is expensive. The first three hours of flying are the hours you crash, and a crash in hour two on a cinematic rig costs more than an entire trainer.
I fly commercially out of Phoenix, which means I fly in 110-degree heat, in wind, and over other people's property. The pilots I watch get good fast all did the same thing: they spent the first month on something light and slightly disposable, and they only moved up once hovering had stopped being exciting.
This guide is the order I would follow, the two airframes that fit each stage, and the flight-time math nobody prints on the box.
Why you should trust me
I started on a Phantom 2 in 2015 and I have owned or flown more than 20 drones since, from toy-class quads to an enterprise rig that cost more than my truck. I shoot real estate, weddings, and solar-farm inspections four to five days a week, and my logbook is mostly battery data: which packs swelled, which ones died at 80 percent health, which gimbal started drifting after a summer in a hot car.
One honest note about this article. I have not flown these two specific airframes. My read on them comes from the class each one sits in, the specs their listings publish, and the pattern I have watched repeat across a decade of flying. What I can tell you with confidence is how the learning curve works, where the money actually goes, and which mistakes cost real money.
How I picked these two
The two drones below are not competitors. They are stages. One is the airframe you learn on and crash. The other is the one you graduate to once hovering, yaw, and nose-in orientation are automatic.
I ranked both on four questions:
- Does it survive a first crash? Light airframes with replaceable props and prop guards beat heavy ones with expensive arms.
- Does the app work without drama? A drone with a buggy app is a drone that will not fly when you need it.
- Are batteries available and affordable? The kit matters more than the headline number.
- Does the camera hold up? The camera is half the product. A great airframe with a soft camera is a paperweight with propellers.
I did not rank them on megapixels, top speed, or whatever the box calls "cinematic mode." None of that matters in your first month.
The two stages of a first drone
You do not need both on day one. You need the first one on day one, and you need to understand why the second one exists before you spend on it.
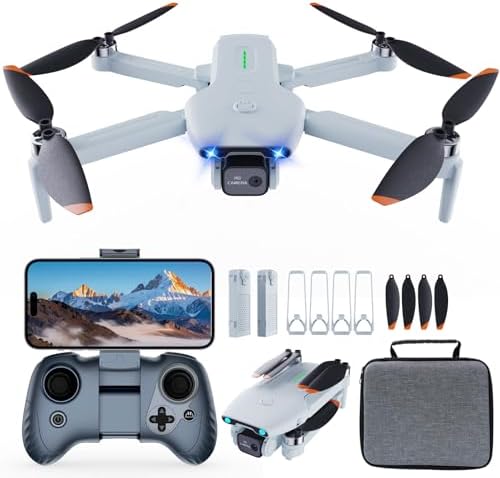
Trainer pick: Drone with Camera for Adults and Beginners, 1080P HD FPV
 Visit on Amazon →
The full listing name is a mouthful (Drone with Camera for Adults and Beginners, Drones for kids 1080P HD FPV, Brushless Motor, Gesture Control, One Key Start/Land, 360° Flip, Waypoints Fly, 3 Speed Mode, Kids Drone Toys Gifts for Boys), but the feature list is the point. This is a trainer that covers the first month of skills without asking you to risk a real camera budget.
The two features that matter most to me are the brushless motors and the three speed modes. Brushed motors are the first thing to die on cheap quads, usually in the middle of a flight, and brushless motors hold up far better under repeated crashes and hot afternoons. The speed modes let you start in the slowest setting, where a beginner should stay for weeks, and move up only when the slow setting feels boring.
The rest of the feature list is a sensible starter kit. One-key start and land takes the panic out of the first flights. The 1080p FPV camera is enough to learn framing and to see what the drone sees on your phone. Gesture control, waypoints, and the 360 flip are tricks you unlock later, and waypoints in particular are worth learning because planning a flight path is the actual job on a paid shoot.
Flaws but not dealbreakers: This class of drone is light, which is why it survives crashes, and also why a steady 15 mph wind will push it around. Fly it in calm mornings. The camera is a 1080p sensor built for learning, not for a client deliverable, so do not plan to sell footage from it. Props are consumables here, so order spares with the drone rather than after the first crash.
Beginners who want to learn hovering, orientation, and landing without a repair bill are exactly who this is for.
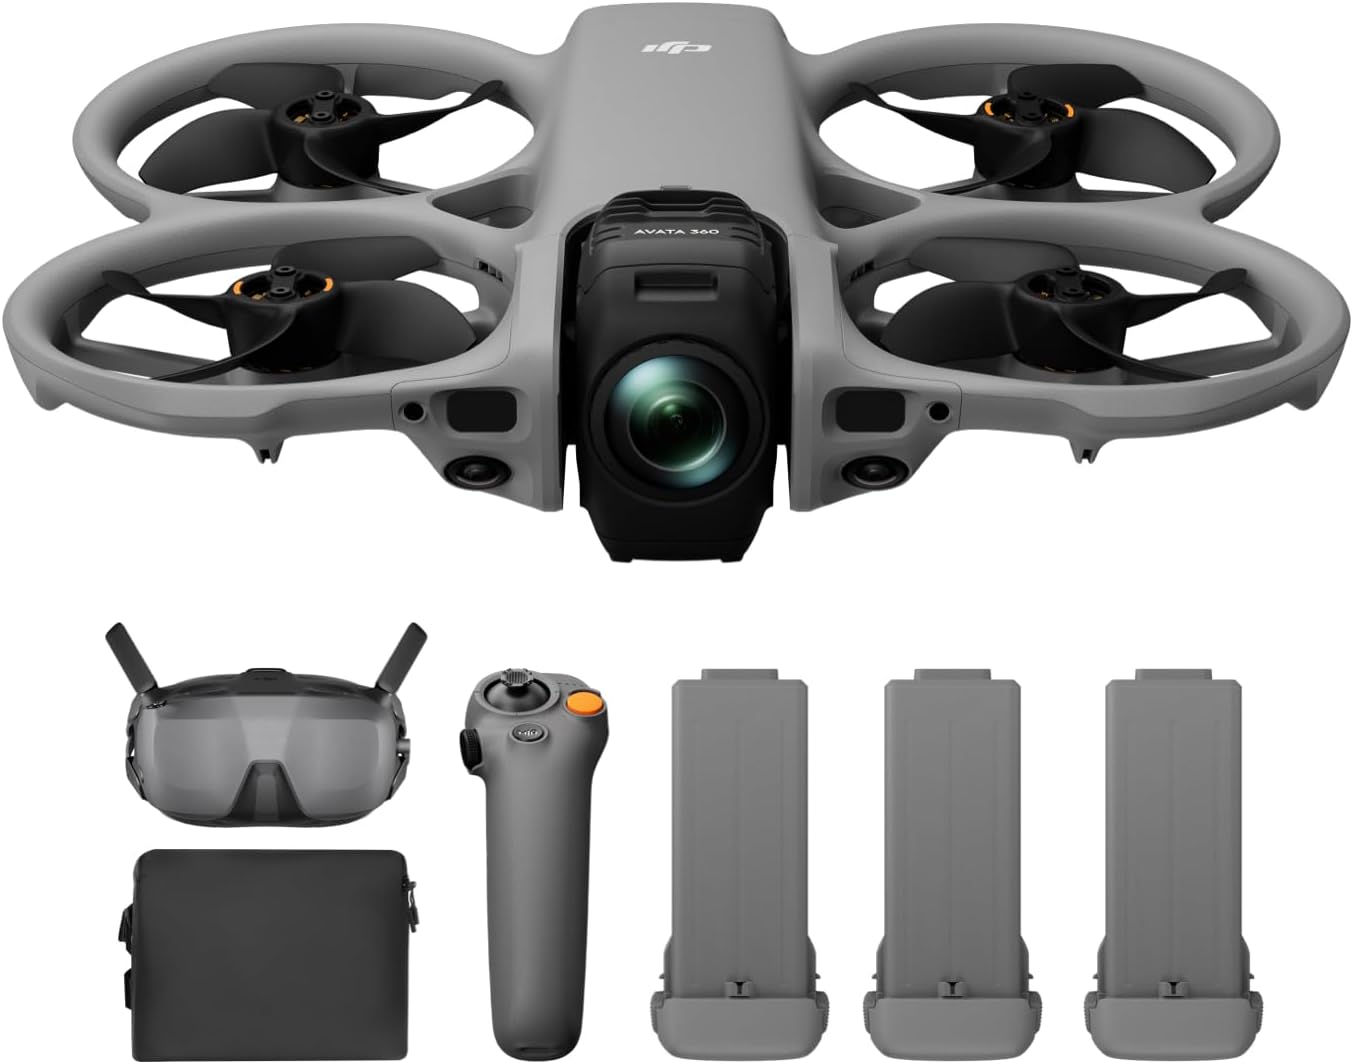
Upgrade pick: DJI Avata 360 Motion Fly More Combo, 8K 360° Camera Drone
 Visit on Amazon →
This is the graduation drone, and the name tells you what you are paying for. An 8K 360 camera means you capture everything around the aircraft and choose the frame later in editing, which changes how you fly. Instead of lining up one perfect shot and hoping, you fly a smooth path through the scene and pull your angles afterward. For real estate and event work, that is a real workflow advantage.
The Motion Fly More Combo matters as much as the camera. Fly More kits exist because batteries are the real cost of drone ownership, and a kit with extra packs means more flying per session and less time watching a charger. If you ever have to choose between a bundle with more batteries and a bundle with a nicer case, take the batteries.
Two honest caveats. First, I have not flown this airframe, so treat my read as a class-level expectation rather than a test result. Second, FPV-style flying has a genuine learning curve, and the motion controller is a different skill from the twin-stick flying you learned on the trainer. Budget a few sessions in an empty field before you take it anywhere that matters.
Flaws but not dealbreakers: 360 capture is more work in post, not less. You will spend time reframing footage that a normal camera would have captured in one take. The airframe also needs more open space than the trainer, and it is not the drone to learn nose-in hovering on.
Pilots who have outgrown the trainer and want cinematic footage with room to reframe in editing should look here.
The actual learning workflow
Now the part you came for. This works whether you fly the trainer or a borrowed quad, and the order is not negotiable.
Step one: Update everything at home, on Wi-Fi, before you leave the house. Firmware, app, batteries, and controller pairing all get sorted at the kitchen table. Nothing kills a first flight faster than an app demanding an account login and a firmware update while you stand in a field with one bar of signal.
Step two: Check the rules and the airspace where you plan to fly. In the United States, recreational drones over 250 grams generally need FAA registration, and you should check for controlled airspace, nearby airports, and temporary flight restrictions before the first flight. Confirm the weight on the listing for your specific drone, keep the aircraft in your line of sight, stay under 400 feet, and stay away from people. Rules vary outside the US, so check your local authority too.
Step three: Pick the right field. Open, flat, empty. No power lines, no trees at head height, no dogs, no kids, no spectators. A school field on a weekday morning is close to ideal. A crowded park on a Saturday is not.
Step four: Calibrate on a level, metal-free surface. Compass calibration away from rebar, car keys, and buried pipes. Let the aircraft sit still while it initializes. If the app asks for a calibration, do it before takeoff, not after you notice the drift.
Step five: Fly the first battery in the slowest speed mode and do nothing but hover. Use one-key start, climb to eye level, hold, descend, repeat. Land with one-key land. That is the whole flight, and it should be boring on purpose.
Step six: Learn orientation. This is the skill that separates pilots from owners. Fly slow figure eights in both directions, then practice hovering with the nose pointed at you. When the nose faces you, your left and right inputs appear reversed. Train that reflex on a trainer you can crash, never on the expensive airframe.
Step seven: Add camera moves one at a time. Gesture control first, then waypoints, then the flip. Waypoints are the underrated one, because planning a path and flying it smoothly is exactly what a paying client is buying.
Step eight: Graduate. Move to the 360 rig only when hovering, slow figure eights, and nose-in orientation are automatic. If you still have to think about the sticks, you are not ready, and the 360 camera will not save a shaky flight path.
Heat, wind, and the flight time lie
Every box in this hobby claims a flight time measured in a climate-controlled lab with a fresh battery and no wind. In Phoenix, in August, with a camera running, cut that claim by 30 to 40 percent. That is not pessimism, that is arithmetic.
Heat is the battery killer. I have lost two packs to summers here. They swell, they lose capacity, and they die at 80 percent health long before their cycle count says they should. Three rules keep packs alive longer: land at 30 percent rather than running to cutoff, never charge a hot pack straight off a flight, and store batteries at storage voltage instead of full. If you fly in cold weather, remember that packs also refuse to charge below 50 degrees Fahrenheit, so warm them in a pocket first.
Wind is the other number nobody prints. A light trainer gets pushed hard by gusts that a heavier cinematic rig ignores, and the wind at 100 feet is always stronger than the wind at your feet. Check the forecast at altitude, not just at ground level, and stay home when the gusts are serious. A drone in a tree costs more than a morning of patience.
The competition and why it lost
The mid-tier GPS camera drones, the ones that sit between the trainer class and the cinematic rigs, are fine machines, but they are the wrong first purchase for most people. They cost more, they break harder, and their app experience is often years behind the leaders in the category. Learning on one means learning with consequences.
The sub-250-gram class is the opposite tradeoff. It travels well and it sidesteps a lot of regulatory friction, but it is wind-limited and the cameras are small. Great second drone for travel, mediocre first drone for building skills.
Enterprise rigs with RTK and thermal payloads belong to a different conversation entirely. If you are flying inspections for pay at that level, you already know what you need, and you are not reading a first-drone guide.
That leaves the two stages above. A trainer you can crash, and a cinematic rig you earn.
What it costs to get started
I am not going to print prices here, because they move constantly. Check current Amazon price on both listings and do the math against what you actually plan to fly.
What I will tell you is where the money really goes. The airframe is the visible cost. Batteries are the hidden one. Add spare props, a memory card, a charger that can handle multiple packs, and a bag that actually fits the drone with props on, and you have the real number. Spread a trainer over two years of weekend flying and it works out to pocket change per session, which is exactly why starting there is the cheap path and not the compromise.
The order is the whole point. Trainer, then workflow, then cinematic rig. Buy them in that order and the expensive drone arrives when your hands are ready for it.
That is the job. Learn on the one you can drop, and the one you cannot afford to drop will last.