Most people quit FPV in the first two weeks, and it is almost never the drone's fault. A beginner FPV drone kit shows up with a radio, a set of goggles, one battery, and a quad that weighs less than a paperback. The new pilot takes it outside on a breezy afternoon, punches the throttle, watches it vanish into a tree, then places a parts order they do not understand and puts the whole thing in a closet next to the treadmill.
I fly drones for a living. I shoot real estate, weddings, and solar farm inspections around Phoenix, and I have spent more hours than I care to admit walking a gravel lot looking for a quad that went down after a bad arming switch. FPV is a different discipline from the GPS camera drones I fly for clients. There is no position hold, no return to home, no autopilot to catch your mistake. That is exactly why ten packs of FPV teaches you more about flying than a year of hovering a camera drone.
The good news is that the learning curve is mostly a setup problem, not a talent problem. Get the order right and your first kit survives long enough to actually teach you something.
Why you should trust me
I am Kofi, 33, a commercial drone pilot and aerial cinematographer based in Phoenix, Arizona. I started on a Phantom 2 in 2015 and have owned or flown more than 20 drones since, from toy-class quads to a five-figure enterprise rig. I fly four to five days a week, often in 110 degree heat, and my logbook is full of battery degradation notes, gimbal failures, and the exact moment a "40 minute flight time" claim dies in an Arizona summer.
One boundary up front: I do not build or race FPV quads. That is a different category with a different skillset, and I am not going to pretend otherwise. What I do know is what a brand new pilot needs in the first ten flights, and how to keep a kit alive long enough to get those ten flights in.
How I judge a beginner FPV drone kit
Every kit I look at gets the same checklist, and almost none of it is about the camera on the front.
- Motors. Brushless or brushed is the first question. Brushed motors are consumables, and on a cheap quad you will replace them. Brushless motors cost more up front and last through the crashes you are going to have.
- The radio. A kit radio with real gimbals is worth more than a fancier camera. If the radio feels like a video game controller, you will outgrow the kit in a month. If it feels like something you could keep using on a second quad, that is a win.
- The goggles. Entry goggles are not cinematic. They are a viewfinder. What matters is that they fit your face, take a charge, and show you a picture without a half second of lag that makes you overcorrect.
- What is actually in the box. Battery, charger, spare props, and prop guards are the difference between flying today and waiting on a second shipment. A kit that ships with one battery and no spare props is a kit that ships with a deadline.
- Parts supply. Props are the number one consumable in FPV. If props for a given frame are hard to find or priced like jewelry, that kit gets crossed off my list.
- Battery supply. You want a model you can buy more of, in multiples, without hunting. One battery means ten minutes of flying per charge cycle, and that is not enough repetition to build muscle memory.
- Firmware and app behavior. I want updates that happen at my desk without an account creation ritual. If the kit needs a phone app to arm, that app had better be boring and reliable.
Two rules come straight from my own flying. First, I cut every advertised flight time by 30 to 40 percent, because heat and wind eat the difference and nobody tests a quad in Phoenix in July. Second, I assume the quad will hit something in week one. If a kit cannot take a bump into drywall with a prop guard on, it is not a beginner kit.
Two beginner FPV drone kits worth starting on
These are the two I point new pilots toward. One is a low risk first taste of manual flight. The other is for the pilot who already knows they are going to stick with it and wants a radio and goggles they will not immediately replace.
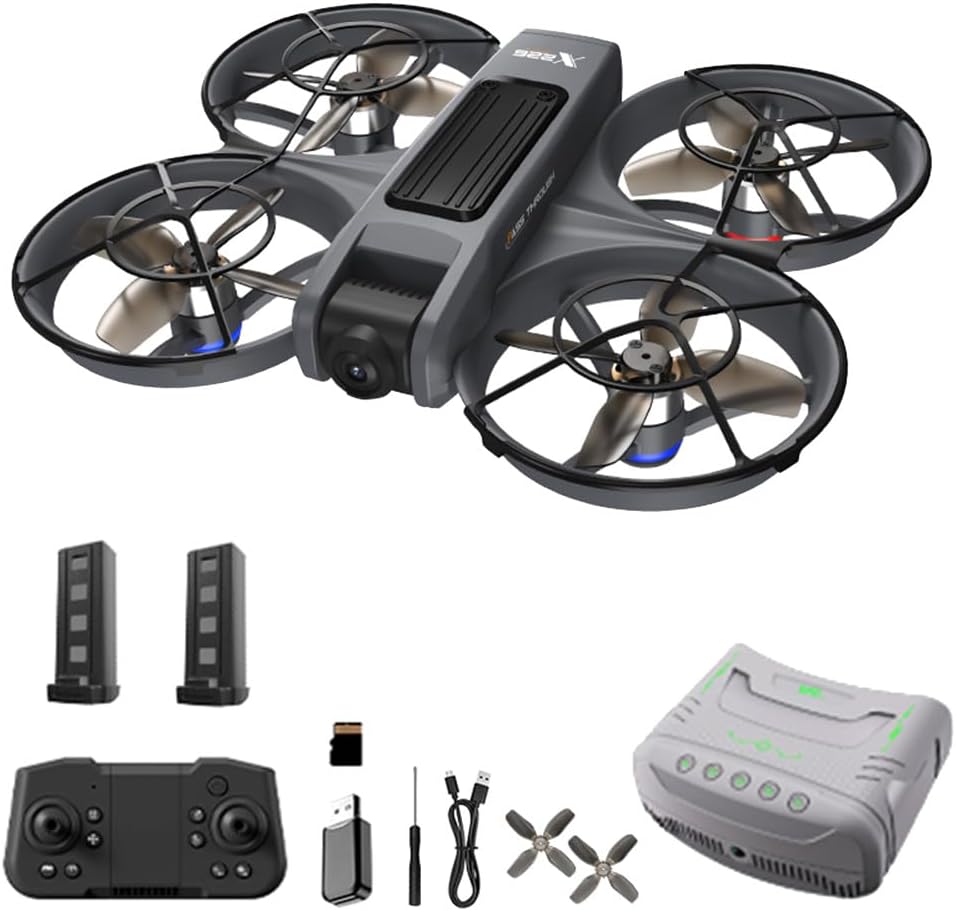
Budget pick: VR FPV Drone with Camera and VR Glasses for Adult Beginner, Brushless Motor
 Visit on Amazon →
This is the kit I hand to someone who is not sure FPV is for them. The listing calls out brushless motors, which is the single spec I care about most at this end of the market, because it means you are not budgeting for motor replacements before you have learned to hover. It pairs the quad with VR style glasses and a camera, so the whole loop of "see what the drone sees" is included in one box instead of assembled from three purchases.
The honest framing: this is a learning tool, not a cinematic rig. Treat it as the thing you crash while your thumbs learn what yaw actually does. A verified buyer pattern I see on kits like this is that the goggles feel like a toy and the quad flies better than expected, which is exactly the right trade for a first purchase.
Flaws but not dealbreakers: Kit-class goggles are never comfortable for a full afternoon, and the camera here is for framing, not for footage you would deliver to a client. Keep sessions short.
Anyone who wants to find out whether they enjoy manual flight before spending real money should start here.
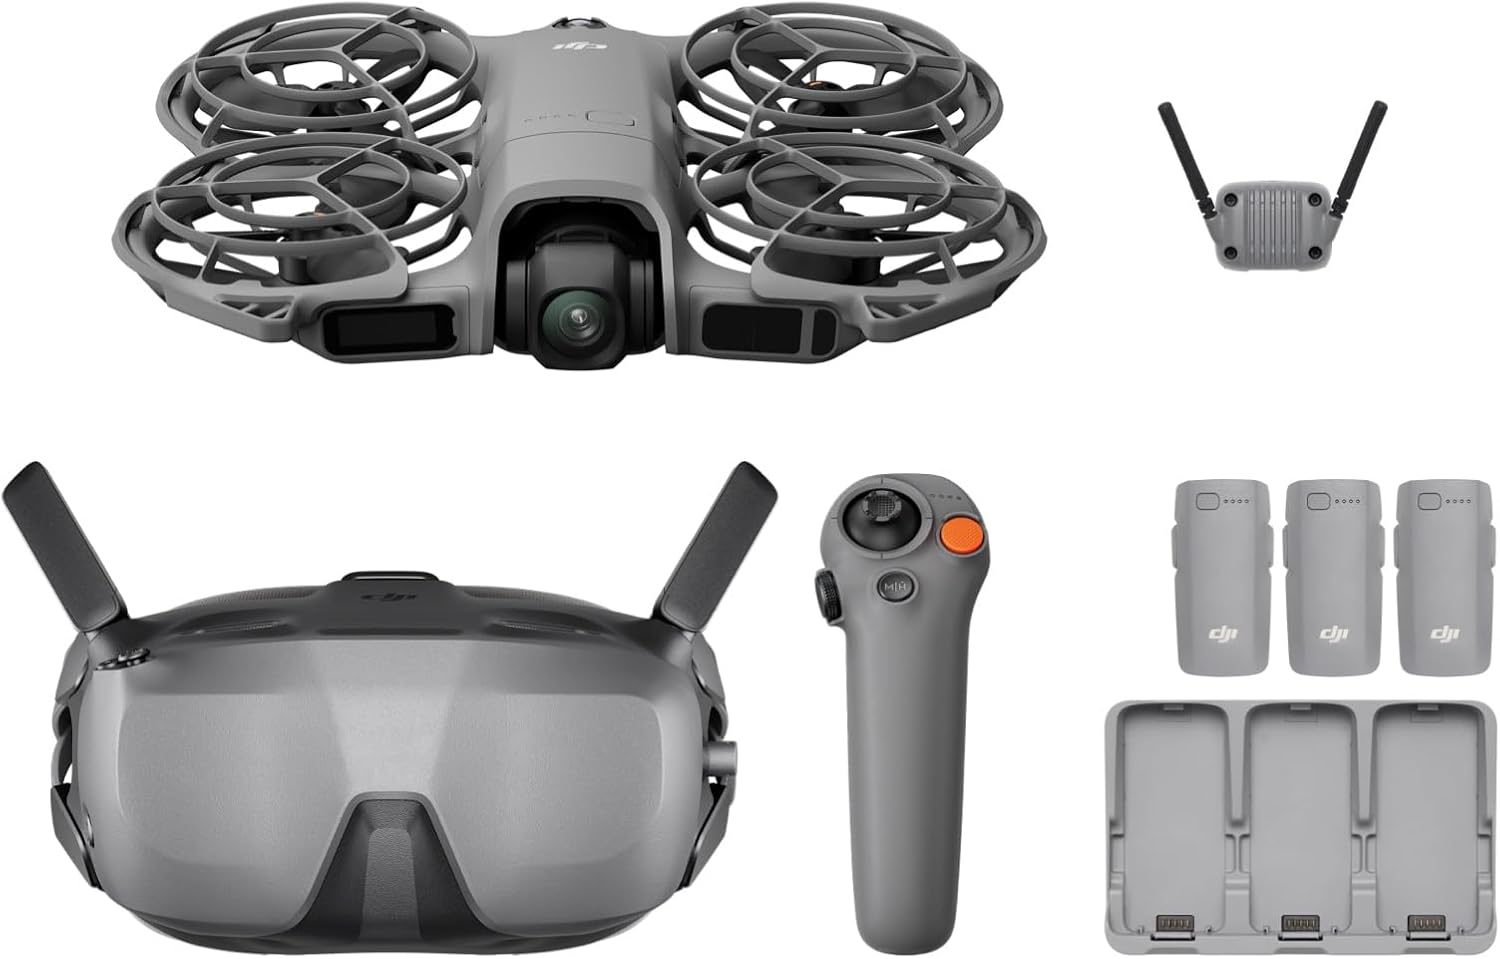
Our pick: BETAFPV Aquila20 FPV Kit with LiteRadio 4 VR04 for Beginner Indoor Outdoor
 Visit on Amazon →
This is the step up, and it is the one I would buy for myself if I were starting today. The kit bundles the Aquila20 quad with a LiteRadio 4 transmitter and VR04 goggles, which means the two pieces you would otherwise upgrade first are already the real thing. A radio with proper gimbals is the difference between learning smooth inputs and fighting the sticks for a year.
The "indoor outdoor" framing on the listing matters more than it sounds. Indoor FPV is where beginners should spend their first week, because a living room forces you to learn throttle discipline at low speed, and a bump into a couch costs nothing. The same kit then works in a yard or a park once you can hold an altitude without thinking about it.
Flaws but not dealbreakers: A kit built to work indoors and outdoors is a compromise at both ends. It will not fly like a purpose-built outdoor quad in wind, and it is not silent enough to fly in an apartment at midnight without annoying someone.
Anyone who has already decided FPV is a long term hobby and wants one purchase that covers the first six months should go straight here.
The setup order that saves props
Do all of this at a desk, before you go anywhere near a field. Skipping any of it costs you props.
Step one: charge everything, then read the manual. Radio, goggles, and flight batteries, all topped off. The manual tells you which switch arms the quad, and that is the one thing you cannot guess at.
Step two: bind the radio to the quad. Confirm the controls respond in the right order before props ever spin. If the kit uses a mode switch, set it to the gentlest flight mode available and leave it there for now.
Step three: set the failsafe. This is the setting that decides what the quad does when it loses the radio link. You want motors off, not "keep flying away at the last throttle value." Test it on the bench with props removed.
Step four: update firmware at home. Firmware updates are a desk job. Doing them at the field on a phone with one bar of signal is how flights get cancelled.
Step five: install the prop guards. On a beginner quad, guards go on before the first flight and stay on for the first month. They are ugly and they cost you a little performance. They also turn a wall strike into a non event.
Step six: check prop orientation. Props are directional. A prop on the wrong motor produces a quad that flips the instant you add throttle, which is the single most common first flight failure. Match the markings to the motor positions.
Step seven: bench test with props off. Arm the quad, confirm all motors spin, confirm throttle direction, confirm the disarm switch kills it instantly. Do this until disarm is muscle memory. That switch is your brake pedal.
Step eight: know the rules where you fly. In the United States, recreational flying means a TRUST test, visual line of sight, and staying under the altitude limits for your area. Flying FPV with goggles legally usually means a visual observer watching the aircraft. Check the rules before your first outdoor session, not after.
The maiden flight plan
Three short sessions, in this order, beats one long one.
Session one: indoors, line of sight, no goggles. Hover at knee height. Land. Repeat until you can hold a steady altitude for a full battery without drifting into furniture. You are training your thumb, not your eyes.
Session two: outdoors, line of sight, light wind only. If trees are moving, stay home. Fly slow circles in an open field and practice the disarm switch. Do not chase speed. Speed is what the second month is for.
Session three: goggles on, with a spotter. Have someone watch the aircraft while you watch the feed. This is the moment FPV clicks, and it is also the moment new pilots freeze. Keep the flight short and land before the battery gets low.
A few rules I would tattoo on a beginner's radio if I could. Land at the first sign of battery sag, because a voltage drop under load is how quads fall out of the sky. Keep the quad in front of you. Fly over grass, not concrete, not water, and never over people or pets. And log every flight: air temperature, wind, flight time, and how the battery behaved. After twenty entries, patterns show up that no review will tell you.
Mistakes that end the hobby early
Flying in wind as a beginner is the fastest way to lose a quad and your confidence in the same afternoon. FPV quads are light, and light things get pushed.
Flying over anything you cannot retrieve the quad from is the second fastest. Roofs, pools, storm drains, and the far side of a fence have ended more FPV hobbies than crashes have.
Ignoring heat is the third. Batteries hate it. In a Phoenix summer, a pack that flies fine at 7 a.m. can come down swollen and unhappy after a midday session, and once a battery swells, it is done. Store packs out of the sun, let them cool before charging, and never charge a puffy pack.
Upgrading before you can hover is the fourth. A better quad does not fix unsteady thumbs. Fly the kit you have until you can hold an altitude and land where you intended, then upgrade.
And not having spare props is the fifth. Order them with the kit. Waiting three days for props after a five second crash is how momentum dies.
Why not a racing build or a camera drone
A racing build is a different category and I will not pretend it is a beginner path. Racing frames are built to be repaired constantly, tuned by hand, and flown at speeds that punish a two week old pilot. That is a separate hobby with a separate learning curve.
A GPS camera drone is the other fork in the road. If your goal is cinematic footage of a property, the camera drone is the right tool and the app does most of the flying for you. If your goal is to actually fly, the FPV kit is the right tool, because it refuses to fly for you. Pick the fork that matches the skill you want.
What this all costs
The kit is the entry fee, not the total. The running cost of FPV is props and batteries, in that order.
Props are the consumable you will buy most often, and the number depends entirely on how often you hit things, which is high in month one and low by month three. Batteries are the bigger long term line item, especially in a hot climate, because heat shortens cycle life and swollen packs get retired early. Budget for more than one battery from the start, because a single pack means ten minutes of practice per charging cycle.
Beyond that, the honest costs are time and travel. FPV rewards short, frequent sessions over one long weekend session, which means finding a field you can get to twice a week. If you cannot do that, the kit will still be fun, it will just take longer to click.
Check current Amazon price on the VR kit if you want the low risk entry, and check current Amazon price on the Aquila20 kit if you already know you are staying.
The short version
Buy a beginner FPV drone kit with brushless motors and a radio you would not immediately throw away. Set the failsafe, put the guards on, and bench test with the props off. Fly indoors first, line of sight, at knee height, until hovering is boring. Then goggles on with a spotter and keep every flight short and over grass.
That is the whole job. The kit is not the hard part. The first three sessions are, and they are the ones nobody wants to practice.