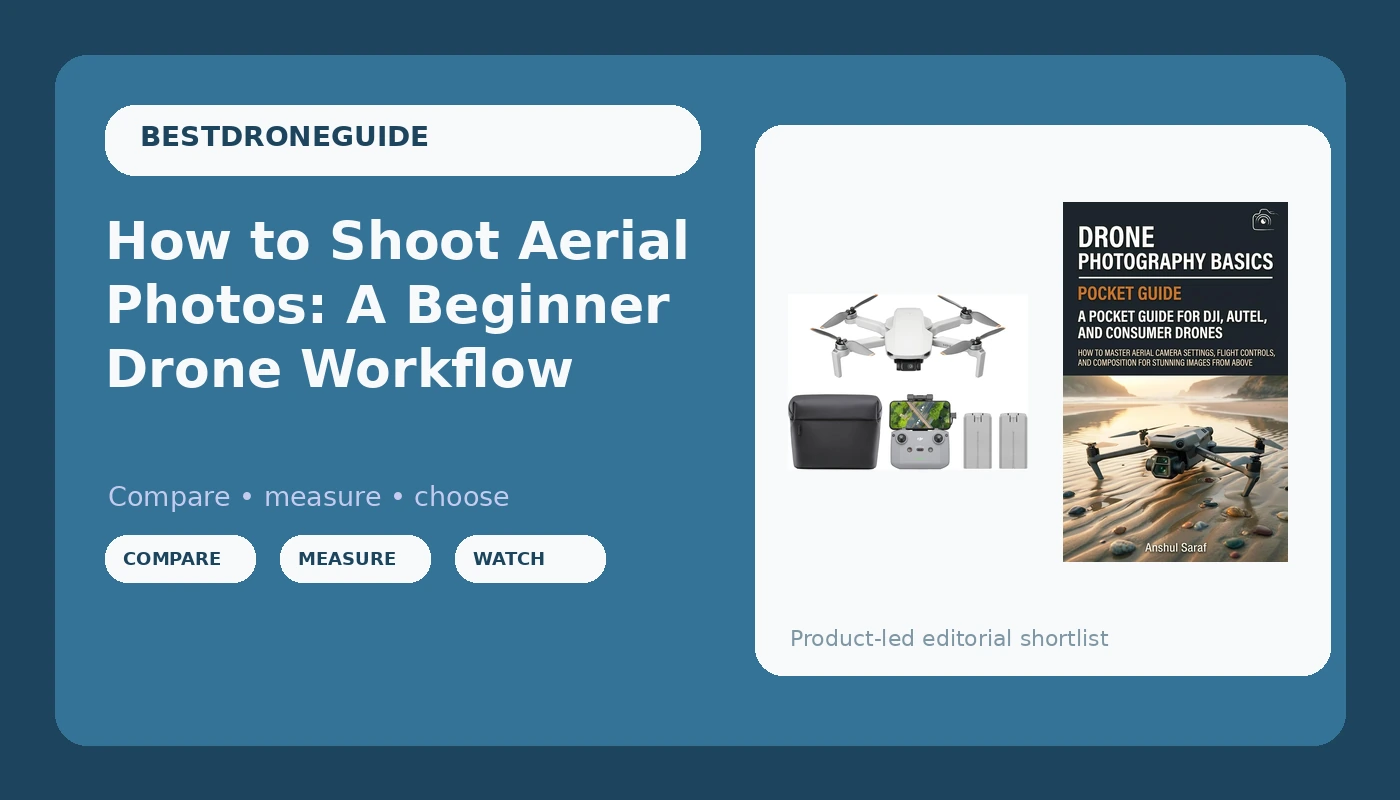
Beginner drone photography looks like a gear problem until you actually fly. The first time you push the sticks, you realize the camera is easy and the decisions are hard: where to stand, how high to climb, what shutter speed keeps motion smooth, and when to bring the drone home. I have flown commercial jobs in Phoenix since 2015, and the beginners who improve fastest are the ones who pair a forgiving drone with a repeatable workflow. The DJI Mini 4K Camera Drone Combo and a pocket guide called Drone Photography Basics are the two pieces of gear I would put in a new pilot's hands first.
Why you should trust me
I have been flying commercially since 2015, when I started with a Phantom 2 and a lot of bad footage. Since then I have owned or flown more than 20 drones, from toy-class models to a full enterprise rig, and I fly four or five days a week in Phoenix heat that kills batteries and gimbals. My logbook is full of real flight times in 110-degree afternoons, not the lab numbers on a box.
I shoot real estate, weddings, and solar-farm inspections, so I know what a paying client needs from an aerial image and what a beginner can ignore. The advice below comes from that work, not from a spec sheet.
How I picked and what I checked
This is not a list of every drone on Amazon. It is the minimum kit for a beginner who wants to learn beginner drone photography without wasting a season on the wrong gear. I looked at four things: weight, because sub-250 g drones avoid a lot of registration friction in the United States; camera stabilization, because a 4K sensor without a gimbal produces mush; battery count, because one battery is a 20-minute session and two batteries is a real flight day; and the app experience, because a drone with a buggy app will let you down when the light is perfect.
I also checked whether the guide actually teaches settings and composition instead of just showing pretty photos. The two picks below are the ones I would hand a new pilot first.
The gear you'll need before you start
You cannot learn aerial photography on a drone that fights you. The drone needs to hover, hold position, and keep the horizon level while you think about the shot. The guide needs to explain the why behind shutter speed, ISO, and composition without assuming you already know cinema terms. Get those two things right, and the rest is practice.
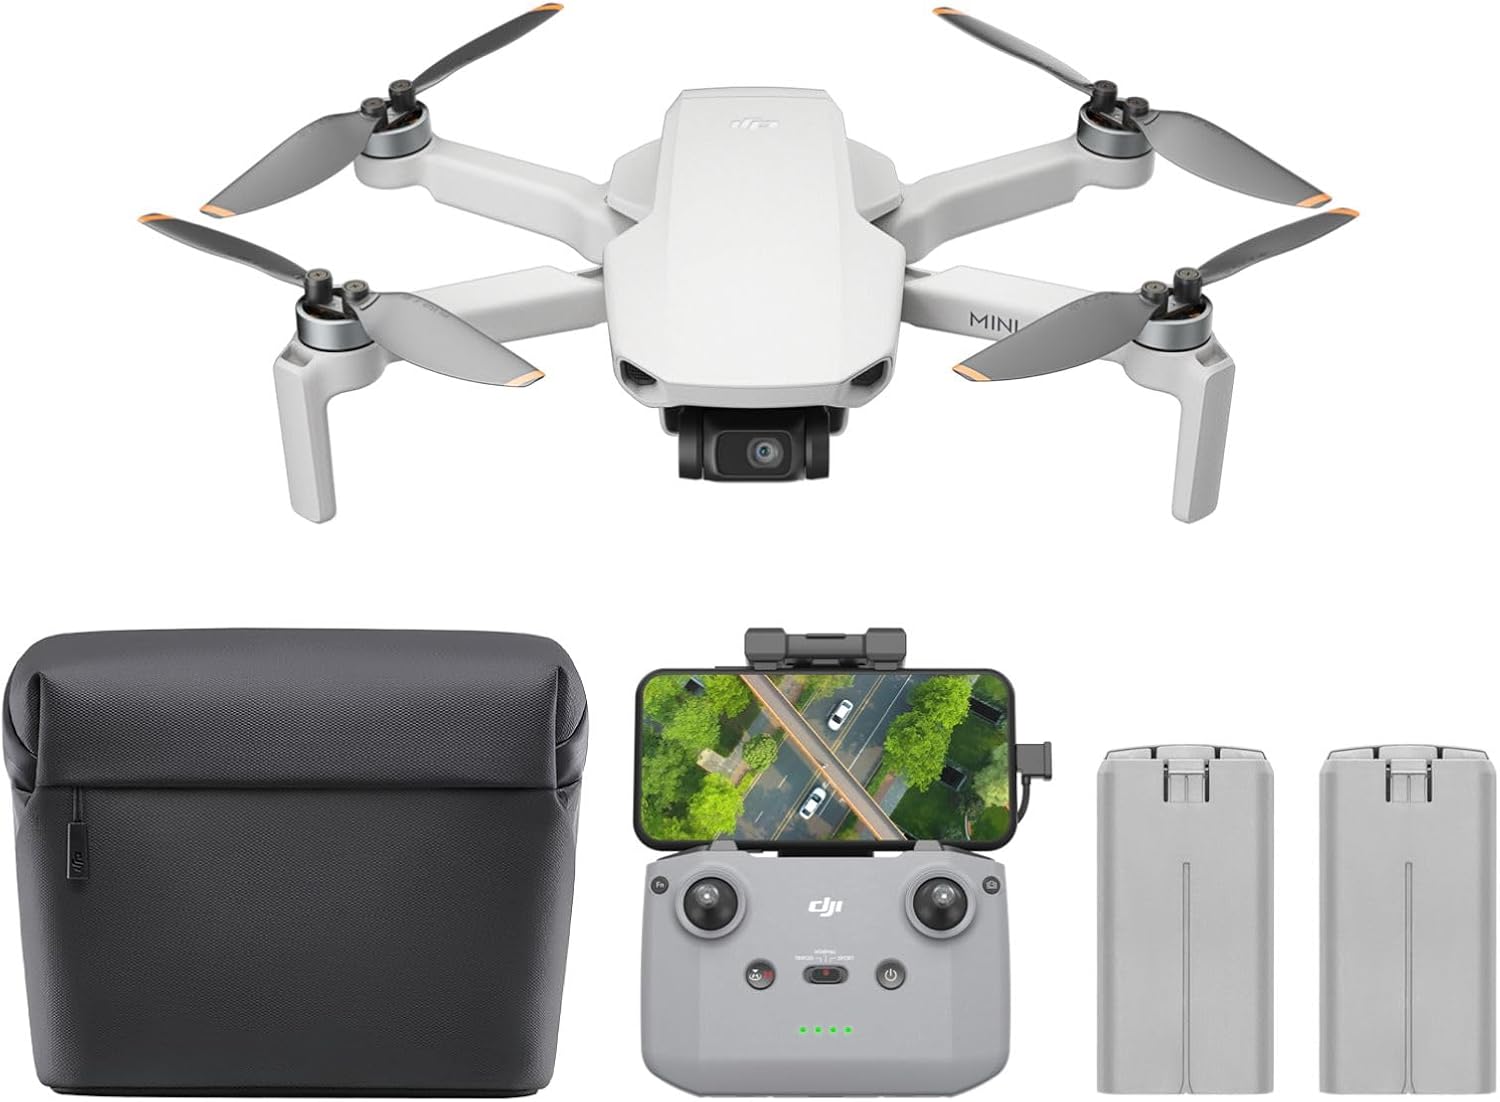
Our pick: DJI Mini 4K Camera Drone Combo, Drone with 4K UHD Camera for Adults, Under 249 g, 3-Axis Gimbal Stabilization, 10km Video Transmission, Auto Return, 2 Batteries for 62-Min Max Flight Time, QuickShots
 Visit on Amazon →
The Mini 4K Combo is the drone I would start a beginner on. It is under 249 g, which keeps it in the lighter regulatory category, and the 3-axis gimbal is the feature that matters most for stills and video. A 4K camera on a drone that jitters is a toy. A 4K camera on a 3-axis gimbal is a camera. The 10km video transmission gives you a stable live view, and Auto Return is the safety line you want when you lose orientation.
The combo includes two batteries, which is the right call. One battery is not enough to learn on. Two batteries gives you a real session and a spare when the first one lands warm. The 62-minute max flight time is a combined claim across both batteries, and you should treat it the way I treat every flight-time number: cut it by 30 to 40 percent in heat, wind, or aggressive flying. That still leaves you with a useful pair of flights. QuickShots are built-in automated moves that help you learn smooth camera movement before you can fly manual arcs. Use them as training wheels, then graduate to manual sticks.
Flaws but not dealbreakers: The Mini 4K is not an obstacle-avoidance drone. It has safety features, but it will not save you from a tree. Fly it like the sensors do not exist, because in the beginner class they mostly do not. The camera is also a small sensor, so low-light shots will show noise. That is the trade for the weight and the price.
A new pilot who wants one drone to learn on, travel with, and legally fly under the 250 g line will get the most from this combo.
Companion pick: Drone Photography Basics - A Complete Guide: How to Master Aerial Camera Settings, Flight Controls, and Composition for Stunning Images from Above, A ... The Ultimate Pocket Guide for Beginners)
 Visit on Amazon →
The drone gets you in the air. This guide is what keeps your footage from looking like everyone else's first flight. Drone Photography Basics covers aerial camera settings, flight controls, and composition in a pocket format. That order matters. Most beginners start with composition, then wonder why their images are soft or blown out. You need the settings first, because the camera has to be right before the frame matters.
I like this book for the same reason I like a checklist in the cockpit. It gives you a repeatable way to think about shutter speed, ISO, and white balance, then builds on that with flight control and framing. It is not a deep cinema textbook. It is a beginner's field guide, which is exactly what you want in your bag while you are still learning. Read the camera settings chapter before your first flight, then read the composition chapter after you have a few hundred frames to look at.
Flaws but not dealbreakers: It is a pocket guide, so it will not cover advanced color grading or enterprise workflows. If you already understand manual camera settings and the rule of thirds, you will outgrow parts of it quickly. For a true beginner, that is not a flaw.
Anyone who just bought a first drone and does not know why their horizon is tilted or their video looks choppy should read this before the next flight.
The actual beginner drone photography workflow
This is the process I would run if I were starting over with the Mini 4K Combo and this guide. It works in a park, on a job site, or in your backyard.
Step one: Charge and inspect the batteries. Charge both batteries the night before. Check for swelling, dents, or a cell that will not balance. In Phoenix, I have lost batteries to heat that looked fine until they puffed. If a battery is swollen, retire it. Do not fly it because you drove to the location. A dead drone is cheaper than a fire.
Step two: Update firmware and calibrate the compass. Do this at home, not at the launch site. The app experience is part of the product, and a firmware update that fails on location is a flight you do not get to take. Calibrate the compass away from metal and magnets, then verify that the drone holds a stable hover.
Step three: Check airspace and legal limits. Use a flight app to confirm you are clear of controlled airspace, airports, and temporary restrictions. The sub-250 g class is lighter on paperwork, but it is not a license to fly anywhere. Stay under 400 feet, keep the drone in visual line of sight, and never fly over people who are not part of the operation.
Step four: Set the camera before you take off. Start with 4K at 30 frames per second for video, or 4K stills if you are shooting photos. Set shutter speed to roughly double your frame rate, so 1/60 second for 30 fps. Keep ISO at 100 in daylight. Set white balance manually to daylight or cloudy instead of auto, so your color does not shift as you turn. Turn sharpness down if the app allows it. The guide covers these settings in more detail, and the logic is the same for any camera.
Step five: Fly smooth, not fast. Beginners move the sticks like they are playing a video game. Smooth aerial photography comes from slow yaw, gentle forward motion, and a gimbal tilt that moves at the speed of a thought. Practice a slow orbit around a tree or a building. Keep the horizon level. If you can fly a clean 30-second clip without a jolt, you are ready to compose.
Step six: Compose with altitude and foreground. The most common beginner mistake is flying too high. Altitude flattens a scene. Come down, find a foreground element, and let the drone reveal the background as you move. Use roads, rivers, fences, and shorelines as leading lines. Shoot into the sun only when you know how to handle flare. Otherwise, keep the sun at your back or to the side.
Step seven: Use QuickShots as training, then fly manual. The automated modes will teach you what a smooth reveal looks like. Once you can reproduce that motion with the sticks, stop using the automation for anything you care about. Manual control gives you the timing and the framing that a preset cannot.
Step eight: Land with reserve and cool down. Land at 25 to 30 percent battery, not 5 percent. Heat is the battery killer. Let the batteries cool before you charge them. If you flew in 100-degree heat, give them longer. Store them at around 50 percent if you will not fly for a week. This is the boring part that decides whether your batteries last two seasons or two months.
The competition and why it lost
There are cheaper drones than the Mini 4K Combo, and there are more expensive ones. The cheaper ones usually cut the gimbal, the transmission, or the app quality. A drone with a shaky camera and a laggy live view will teach you bad habits, because you cannot see what you are framing and you cannot trust the horizon. The more expensive beginner drones add obstacle sensors and more flight modes. Those are nice, but they do not make your photos better. They make crashing slightly less likely while you learn the same lessons.
The book competes with free YouTube tutorials. Free is good, but a structured guide gives you an order to learn in. You do not know what you do not know, and a pocket guide solves that faster than a playlist. The Mini 4K Combo and Drone Photography Basics are the two purchases that cover the airframe, the camera, and the knowledge. Everything else is practice, and practice is free.
What this all costs
The kit here is two items: the drone combo and the guide. The drone is the real investment, and the combo is the version to get because it includes the second battery. Check current Amazon price for the current number. The guide is the smallest line item in your drone bag, and it is the one that will change your images the fastest. Check current Amazon price for that too.
What you are really spending is time. The drone gets you in the air. The guide shortens the distance between your first flight and your first frame that looks intentional. I have watched beginners spend a year buying accessories they did not need while skipping the two things that matter: a stable camera and a clear understanding of settings and composition.
Buy the combo. Read the guide. Fly three times a week. Your tenth flight will look nothing like your first, and that is the whole point.