I have flown camera drones in Phoenix since 2015, and the number printed on the box has never once matched the number in my logbook. A drone advertised at 30 minutes gives me 18 in July, 21 in January, and maybe 14 when a gust front is pushing across a solar farm. That gap is the entire reason this guide exists.
Budget camera drone flight time is a lab number until weather and a camera payload get involved. Nothing in this article is about squeezing a fake number out of a spec sheet. It is about the 25 minutes of setup work before the first takeoff, and the flight-day habits after it, that decide whether you come home with usable footage or a card full of shaky clips and a swollen battery.
Two drones in the sub-$400 class make sense to set up this way: the DJI Neo Motion Fly More Combo and the Ruko Drone with Camera for Adults. The setup workflow below is identical for both. The habits are what you are actually buying into.
Why you should trust me
I am a commercial pilot and aerial cinematographer. I shoot real estate, weddings, and solar-farm inspections four or five days a week, and I have owned or flown more than 20 drones, from $300 toys to a $15,000 enterprise rig. My logbook is a long record of battery degradation, gimbal failures, and flight-time claims dying in 110-degree heat.
I am not here to sell you a drone. I am here to tell you what I do before a paying job, because the difference between a hobbyist and a working pilot is mostly preparation, not talent.
How I judge a budget camera drone before I fly it
Four things decide whether a drone is worth your morning.
The camera is half the drone. A great airframe with a soft, over-sharpened camera is a paperweight. I care about sensor size and how the footage holds up in a grade, not the megapixel count on the box.
The batteries are the real cost. If the kit does not include spares, price out two more packs immediately. A single battery means a 15-minute shoot with a 20-minute drive on each end.
The app is part of the product. A drone with a buggy app is a drone that will not fly when a client is standing next to you. This is where most budget brands still lose.
Obstacle avoidance is a safety net, not a pilot. I fly like it does not exist, and I want it off in the situations where it panics and stops.
The two drones worth setting up this way
Both of these cover the same job: a small camera drone you can put in the air quickly, shoot a limited shot list, and land without drama. One leans on software, the other leans on raw kit value.
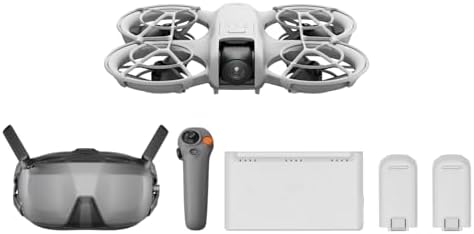
Our pick: DJI Neo Motion Fly More Combo, Mini Drone With 4K UHD Camera for Adults
 Visit on Amazon →
The Fly More Combo is the version I tell people to buy, and not for the accessories you get in the box. The reason is that the controller, the extra batteries, and the case turn this from a novelty into a tool you can actually run a shot list with. In my experience DJI's app and firmware workflow is the most predictable in this category, which matters more than any single spec. When you are on a job, the flight controller doing exactly what you asked is worth more than a wider camera.
The mini class solves a practical problem for a commercial pilot: it goes places a larger airframe cannot, and it gets airborne in under a minute from a small landing pad. For real estate exteriors and tight interior approaches through a doorway, that is the shot.
Flaws but not dealbreakers: small airframes get pushed around by wind, and the gimbal has less room to correct. Bring this for the tight work, not for a 400-foot cinematic pullback on a gusty afternoon.
Anyone who wants a reliable, quick-to-launch camera drone for detail work should start here.
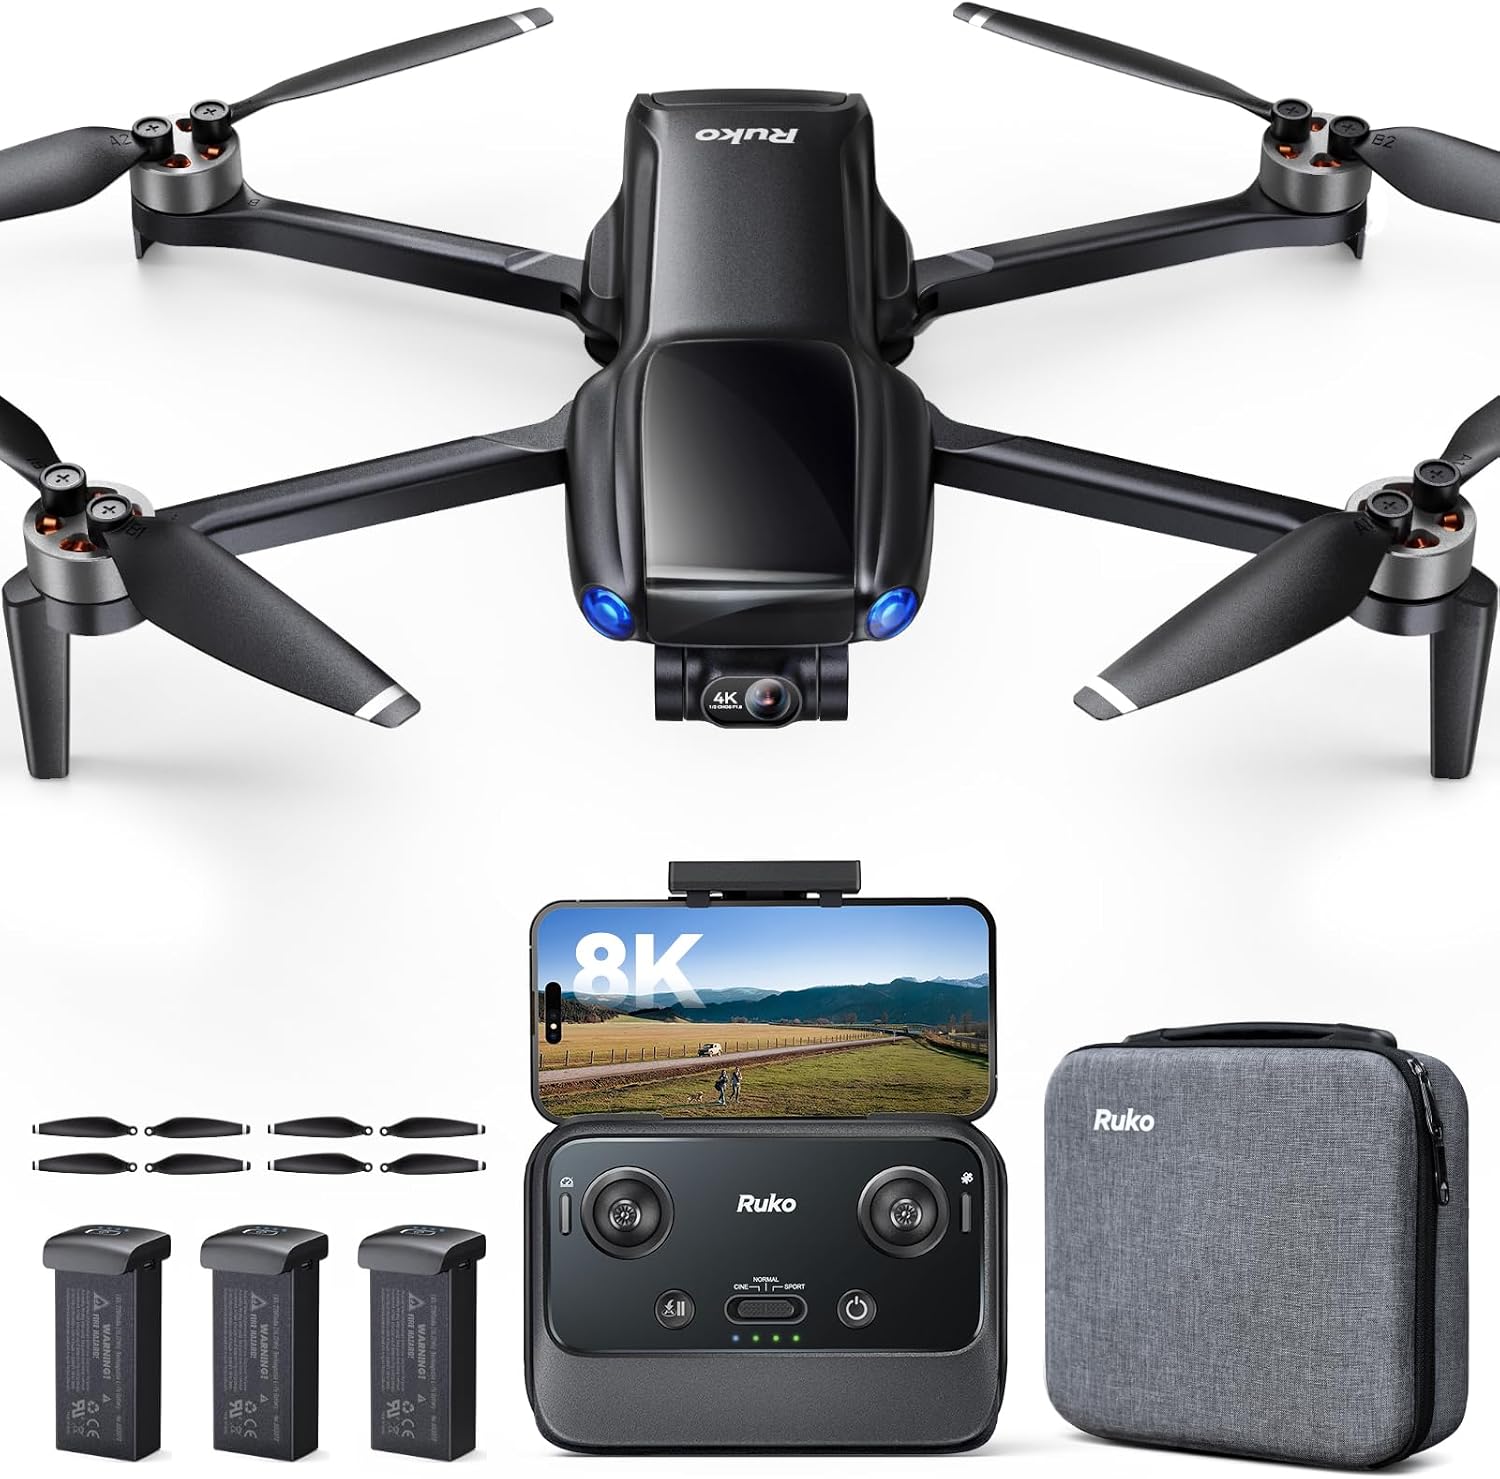
Budget pick: Ruko Drone with Camera for Adults 4K Video & 8K Photo, 96 Mins Flight Time
 Visit on Amazon →
This is the kit-value play. The headline number here is 96 minutes of flight time, and that is a kit total across the batteries, not a single flight, so do the per-battery math yourself before you plan a shoot day. Treat every advertised total the same way: divide by the number of packs in the box, then cut another 30 percent for heat and wind.
The camera claim is 4K video and 8K stills. Stills resolution on a small sensor is mostly a marketing lever, so judge it on the video you can actually grade and the photo files you can actually print. If you need big prints, look at a larger sensor before you look at a bigger number.
Flaws but not dealbreakers: budget brands live and die on their app, and some still ship an interface that feels a generation behind. Update firmware the day it arrives, confirm the app connects in your yard before you drive anywhere, and you remove most of that risk.
Anyone who wants the most airtime and the most batteries per dollar, and who is willing to do the app homework, gets the most out of this kit.
The actual setup workflow
Do this once, indoors, with a charged controller and a laptop nearby. It takes about 25 minutes and it saves you a ruined shoot.
Step one: Register nothing, update everything. Before the first flight, connect the drone to the app and run every firmware update it offers. Do not fly on factory firmware. If the app insists on an account, create it at home on Wi-Fi, not in a field with one bar of signal.
Step two: Label the batteries. Number every pack with a paint pen or a strip of tape. Numbering is how you catch a weak pack before it fails mid-flight, and it is how you build a rotation instead of hammering one battery because it happened to be on top.
Step three: Charge to full, then store at half. Charge everything for your first flight, but get into the habit of landing and letting packs cool, then bringing them down to storage charge if you will not fly for a week. Heat and full-charge storage are the two things that kill lithium packs. I have lost two batteries to Phoenix summers and both swelled at around 80 percent health.
Step four: Calibrate the gimbal and the compass. Every drone in this class has a gimbal calibration routine in the app. Run it on a level table, not on your car hood. Then do the compass calibration away from rebar, metal tables, and your truck. A bad compass is the cause of a lot of "my drone just flew sideways" stories.
Step five: Set your camera before you fly. Lock the frame rate and shutter speed you want, then match exposure with an ND filter instead of a shorter shutter. If you shoot at a high shutter speed in bright sun, your footage looks like a security camera, and no amount of editing fixes that. Set it once, then leave it.
Step six: Set your rates and your return-to-home altitude. Drop the control expo rates down so the sticks are smooth, and set the return-to-home altitude above the tallest thing within a quarter mile. Taller than the trees, taller than the power poles, taller than the building you are shooting.
Step seven: Fly the first battery as a scout. Do not shoot on battery one. Fly the perimeter, look at the light, note the wind direction and where the sun will be in 20 minutes, and confirm your control link holds. The scout flight is also your honest flight-time measurement. Write the number down.
Step eight: Land at 30 percent, not at 10 percent. Landing at 30 percent is not wasting battery. It is giving yourself reserve for a go-around, and it keeps packs out of the voltage range where they age fastest. Land at 30, swap, and keep moving.
Flight day: protecting the footage when the air turns on you
Heat is the enemy of every claim on the box. Above about 95 degrees, expect the drone to pull more current to hold position, and expect your camera to run hotter and your batteries to sag under load. Fly early. In Phoenix, my real shooting window in summer is roughly sunrise to 9 a.m., and everything after that is a compromise.
Wind is the second tax. A steady breeze is manageable. Gusts are not, because the gimbal has to fight them, which eats battery and shows up as micro-jitter in the footage. If the trees are moving in bursts, either fly lower and closer or pack it up. No shot is worth a flyaway.
Keep the batteries in a shaded bag, not in the truck bed. Never charge a pack that is still warm from a flight. Let it sit for 20 minutes. And when you get home, get the packs down to storage level and out of the heat the same day, not the same week.
What I left out of this guide
This is not an FPV guide. Racing builds and freestyle quads are a different category with a different skillset, and mixing the advice does nobody any good. If you want to fly acro, go learn acro on a simulator first.
This is also not an enterprise guide. Thermal payloads, RTK positioning, and inspection-grade mapping are their own discipline with their own budgets, and none of that belongs in a first-drone setup routine.
What this is: the pre-flight work that makes a mid-range camera drone behave like a professional tool instead of a toy with a good camera attached.
What this all costs
The two drones above are the whole gear list. Check current Amazon price on each, because the money question is not the airframe, it is what comes with it and what you will add.
Here is how the real cost breaks down over a season:
- The kit you buy: one-time, and the Fly More style bundles are the ones worth the extra.
- Spare batteries: the single biggest recurring line item, and the one that decides how long your shoot days can be.
- ND filters: cheap compared to a ruined shoot, and they are the difference between cinematic and phone-looking footage.
- A charged laptop and a card reader: you already own these, but budget an hour after every shoot to offload and back up.
Over two years, a well-kept battery rotation costs you a fraction of what a rushed shoot costs in reshoots and missed light. That is the math that matters. Buy the kit with spares, number the packs, log the flight times, and treat every advertised minute as a best case.
That is the job. Set it up once, fly it the same way every time, and the drone stops being the variable in your shoot day.